Screen’s Background Color
(As of Xcode Version 13)
I’m not sure if the original poster meant the background color of the entire screen or of individual views. So I’ll just add this answer which is to set the entire screen’s background color.
Using ZStack
var body: some View {
    ZStack {
            Color.purple
                .ignoresSafeArea()

            // Your other content here
            // Other layers will respect the safe area edges
    }
}
I added .ignoresSafeArea() otherwise, it will stop at safe area margins.
Using Overlay Modifier
var body: some View {
    Color.purple
        .ignoresSafeArea(.vertical) // Ignore just for the color
        .overlay(
            VStack(spacing: 20) {
                Text("Overlay").font(.largeTitle)
                Text("Example").font(.title).foregroundColor(.white)
        })
}
Note: It’s important to keep the .ignoresSafeArea on just the color so your main content isn’t ignoring the safe area edges too.
iOS 15
iOS 15/Xcode 13 has introduced some changes to the way Styles work with the edges of safe areas.
From my observation, the rule is: If the style touches the safe area edge, it will bleed into the safe area.
This gives you more options for setting a background color/style.
What is a Style?
A Style can be:
- Colors
- Materials (blur effects)
- Hierarchical views (.secondary, .tertiary, .quaternary)
- Gradients
Using Background
Because the background of the VStack touches the edge of the safe area, the purple color will bleed into the safe area.
var body: some View {
    VStack {
        Text("Hello, World!")
        Divider()
        Spacer()
    }
    .background(Color.purple)
}
TabView
In iOS 15 the TabView is no longer translucent. Meaning the background color will bleed right into it.
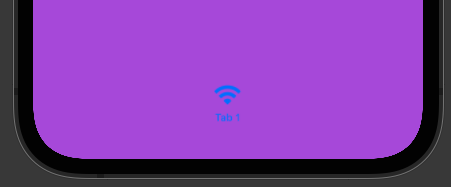
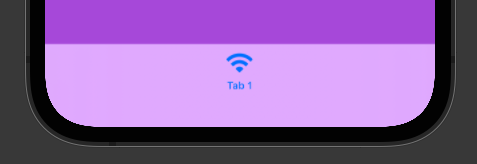
If you want to provide a custom style for your TabView, you can add another Style that touches the bottom safe area edge so that bleeds into your TabView. For example:
var body: some View {
    TabView {
        VStack {
            Text("Hello, World!")
            Divider()
            Spacer()
            // Bleeds into TabView
            Rectangle()
                .frame(height: 0)
                .background(.thinMaterial)
        }
        .background(Color.purple)
        .tabItem {
            Text("Tab 1")
            Image(systemName: "wifi")
        }
    }
}
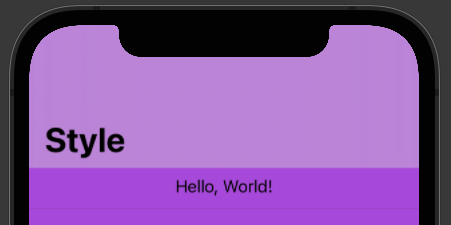
NavigationView
The same thing that happens to TabView will also happen with NavigationView.
To customize the NavigationView style, add a style that will touch the top safe area edge and it will bleed into the NavigationView:
var body: some View {
    NavigationView {
        VStack {
            // Bleeds into NavigationView
            Rectangle()
                .frame(height: 0)
                .background(.ultraThinMaterial)
            Text("Hello, World!")
            Divider()
            Spacer()
        }
        .background(Color.purple)
        .navigationTitle(Text("Style"))
    }
}
I’m totally open to other ways of accomplishing this. Leave a comment or edit this answer if you know of other ways.