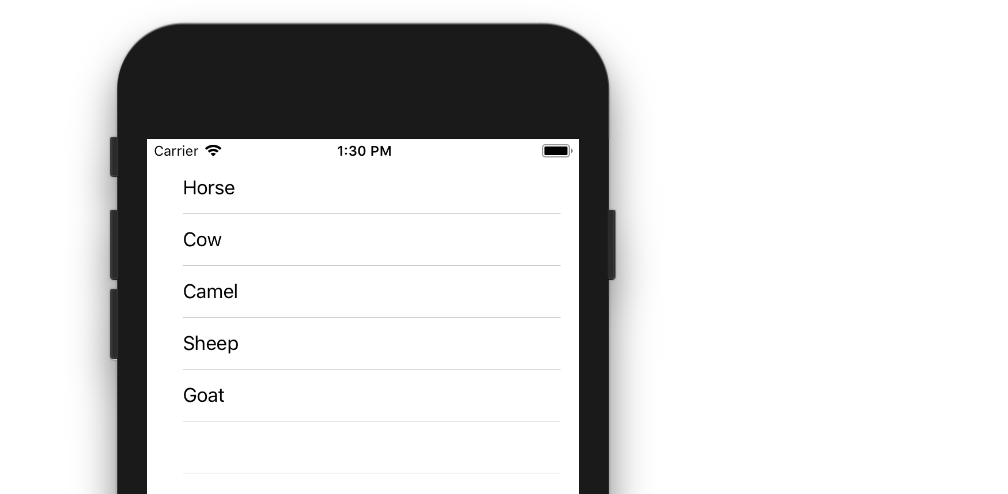
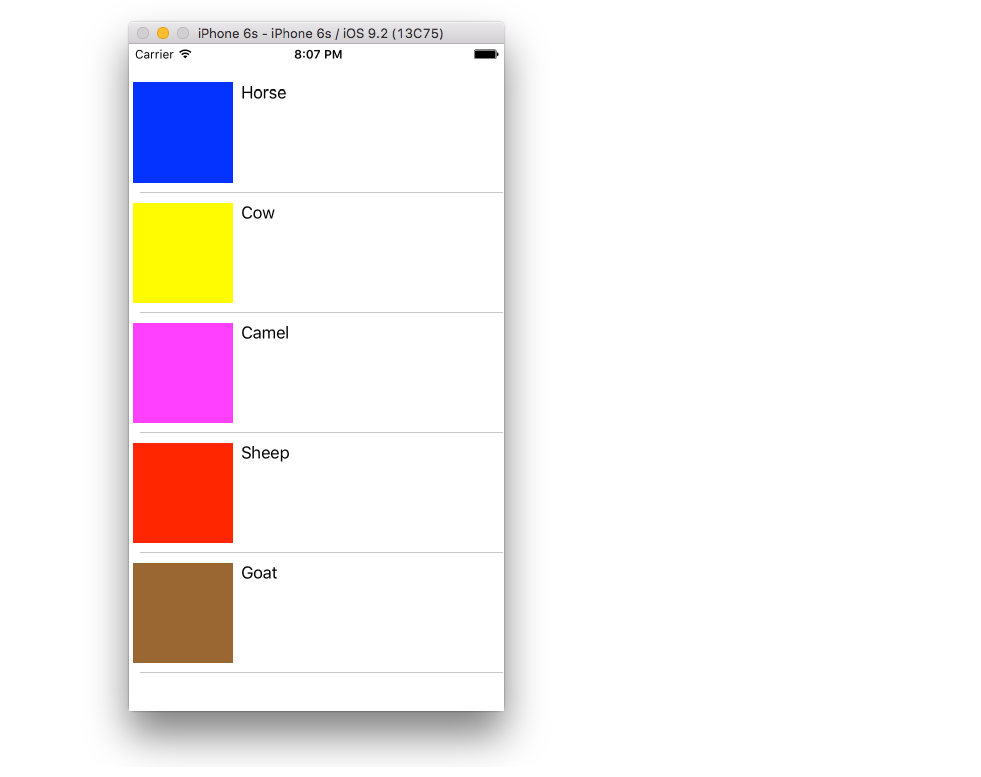
The example below is an adaptation and simplification of a longer post from We ❤ Swift. This is what it will look like:
Create a New Project
It can be just the usual Single View Application.
Add the Code
Replace the ViewController.swift code with the following:
import UIKit
class ViewController: UIViewController, UITableViewDelegate, UITableViewDataSource {

    // Data model: These strings will be the data for the table view cells
    let animals: [String] = ["Horse", "Cow", "Camel", "Sheep", "Goat"]

    // cell reuse id (cells that scroll out of view can be reused)
    let cellReuseIdentifier = "cell"

    // don't forget to hook this up from the storyboard
    @IBOutlet var tableView: UITableView!

    override func viewDidLoad() {
        super.viewDidLoad()

        // Register the table view cell class and its reuse id
        self.tableView.register(UITableViewCell.self, forCellReuseIdentifier: cellReuseIdentifier)

        // (optional) include this line if you want to remove the extra empty cell divider lines
        // self.tableView.tableFooterView = UIView()

        // This view controller itself will provide the delegate methods and row data for the table view.
        tableView.delegate = self
        tableView.dataSource = self
    }

    // number of rows in table view
    func tableView(_ tableView: UITableView, numberOfRowsInSection section: Int) -> Int {
        return self.animals.count
    }

    // create a cell for each table view row
    func tableView(_ tableView: UITableView, cellForRowAt indexPath: IndexPath) -> UITableViewCell {

        // create a new cell if needed or reuse an old one
        let cell:UITableViewCell = self.tableView.dequeueReusableCell(withIdentifier: cellReuseIdentifier) as UITableViewCell!

        // set the text from the data model
        cell.textLabel?.text = self.animals[indexPath.row]

        return cell
    }

    // method to run when table view cell is tapped
    func tableView(_ tableView: UITableView, didSelectRowAt indexPath: IndexPath) {
        print("You tapped cell number \(indexPath.row).")
    }
}
Read the in-code comments to see what is happening. The highlights are
- The view controller adopts the
UITableViewDelegateandUITableViewDataSourceprotocols. - The
numberOfRowsInSectionmethod determines how many rows there will be in the table view. - The
cellForRowAtIndexPathmethod sets up each row. - The
didSelectRowAtIndexPathmethod is called every time a row is tapped.
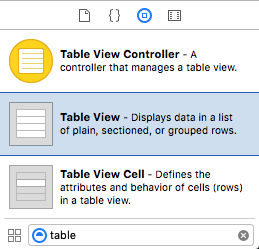
Add a Table View to the Storyboard
Drag a UITableView onto your View Controller. Use auto layout to pin the four sides.
Hook up the Outlets
Control drag from the Table View in IB to the tableView outlet in the code.
Finished
That’s all. You should be able run your app now.
This answer was tested with Xcode 9 and Swift 4
Variations
Row Deletion
You only have to add a single method to the basic project above if you want to enable users to delete rows. See this basic example to learn how.
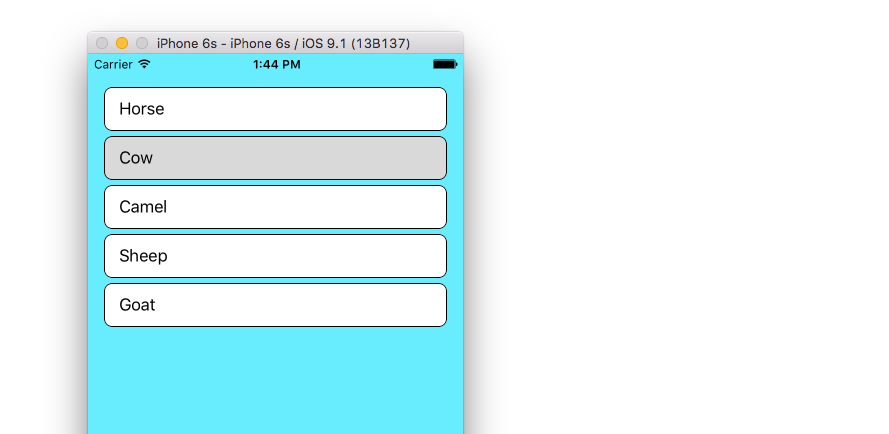
Row Spacing
If you would like to have spacing between your rows, see this supplemental example.
Custom cells
The default layout for the table view cells may not be what you need. Check out this example to help get you started making your own custom cells.
Dynamic Cell Height
Sometimes you don’t want every cell to be the same height. Starting with iOS 8 it is easy to automatically set the height depending on the cell content. See this example for everything you need to get you started.